Hooray and welcome!
We’re extremely excited that you’re part of the Outdoor Eats community and helping elevate the way we eat and experience the outdoors.
No one belly can do it alone!
Below are the step-by-step instructions for testing recipes.
Please read through all 11 steps before starting.
You get to take some photos, test a full recipe, time the process and EAT IT!
Please reach out to eatwell@outdooreats.com for any questions for clarifications.
STEP 1 – RECEIVE RECIPES FROM CHEF CORSO
He will send over easy to use recipe(s) for testing. Either in print or electronically.
STEP 2 – SHOP FOR INGREDIENTS
Most ingredients are available at major grocery stores.
We will call out special ingredients.
STEP 3 – SET UP YOUR COOKING STATION
Things you will need:
recipe
pen
phone/camera
backdrop – outside. Find any texture, color plants, etc. that look nice. No need to stage too much – it should be natural/rustic. The lawn or gravel is an easy option if you can’t find anything.
stove
pot/pan
ingredients
bowl
utensil to eat
STEP 4 – WEIGH OUT EACH INGREDIENT LB/OZ and KILO/GRAMS.
if you can!
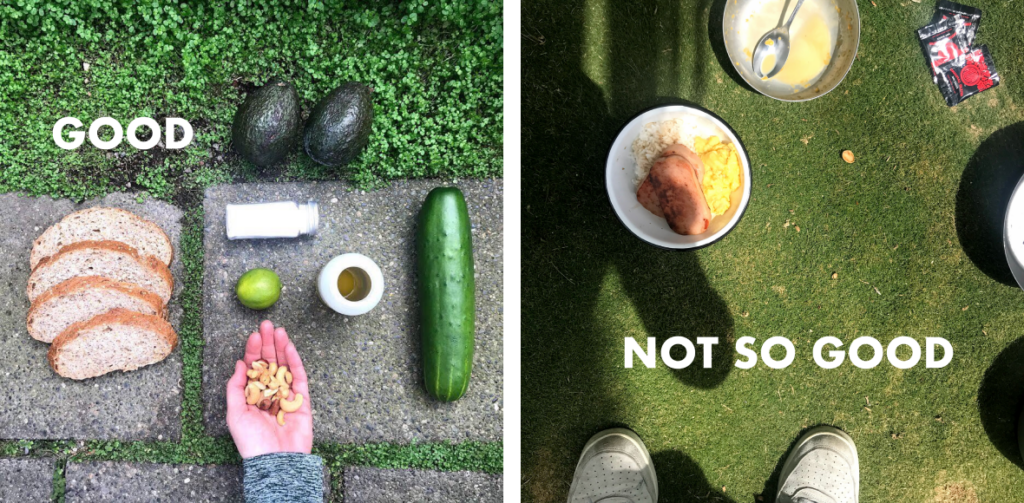
STEP 5 – INGREDIENT SHOT
Set up the ingredients for an overhead shot.
Make sure ALL ingredients are in the shot.
Check and double check!
Make sure to black out brand names with a marker or tape unless specifically called out in the recipe.
PHOTO 1
** SUPER IMPORTANT!! TAKE ON SQUARE SETTING. SUPER IMPORTANT!!! **
Tap the screen to focus.
Take a couple photos.
Double check: clarity of photo, no shadow, no toes, all ingredients are visible, not cut off
STEP 6 – START TIMER
STEP 7 PREP/COOK
Prep and cook recipe following the instructions
Set aside any garnish items for after cooking.
Note any changes in the cooking process for updating.
Fill in all XX information.
Things that might happen:
Too much of something
Not enough of something
Something not quite clear
Additional step needed
Steps can be combined, etc.
Typo on something
GREAT! Fine tuning is part of the process
STEP 8 – STOP TIMER
Note time on recipe – prep and cooking combined.
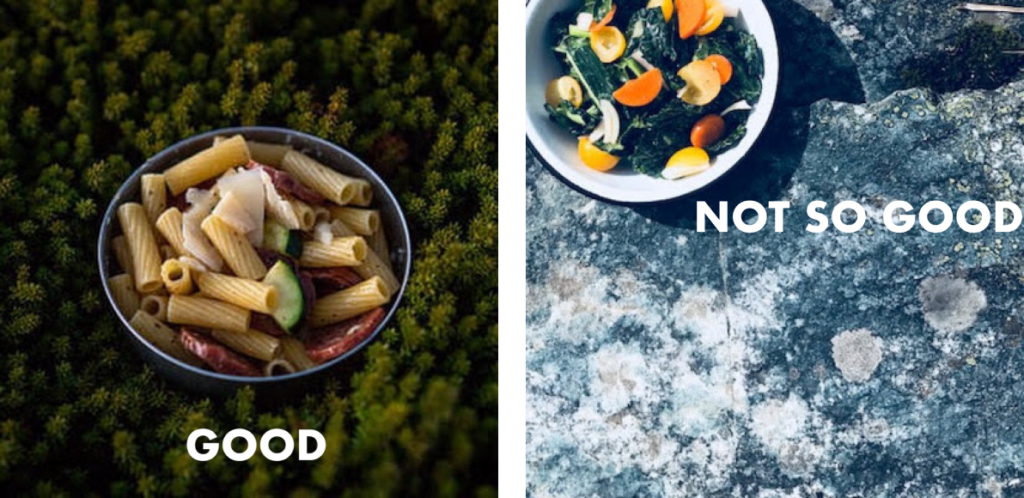
STEP 9 – GLAMOUR/BOWL SHOT
Finished meal shot as styled as you can. Make sure all listed ingredients are visible – i.e. green pepper rice… you can see some green pepper.
PHOTO 2
** SUPER IMPORTANT!! TAKE ON SQUARE SETTING. SUPER IMPORTANT!!! **
Tap the screen to focus.
Take a couple photos.
Double check: clarity of photo, no shadow, no toes
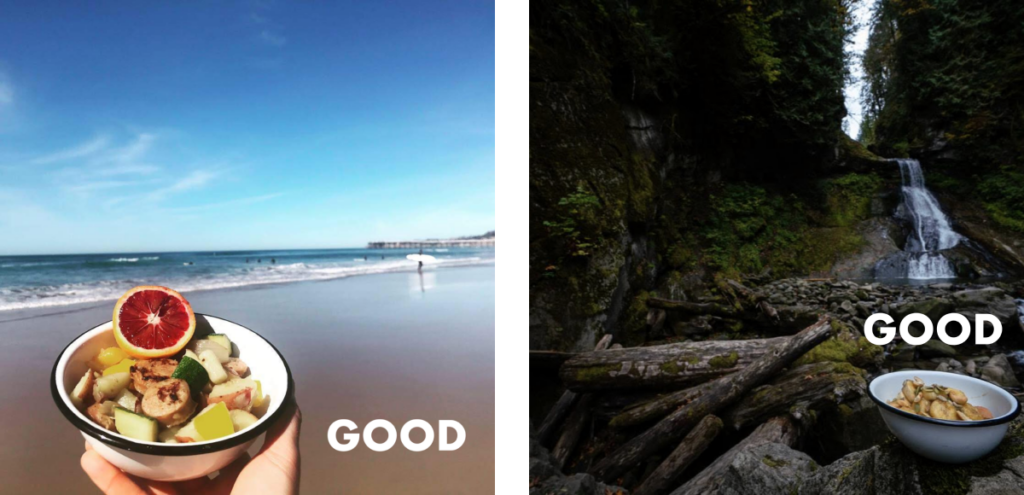
STEP 10 – VISTA SHOT
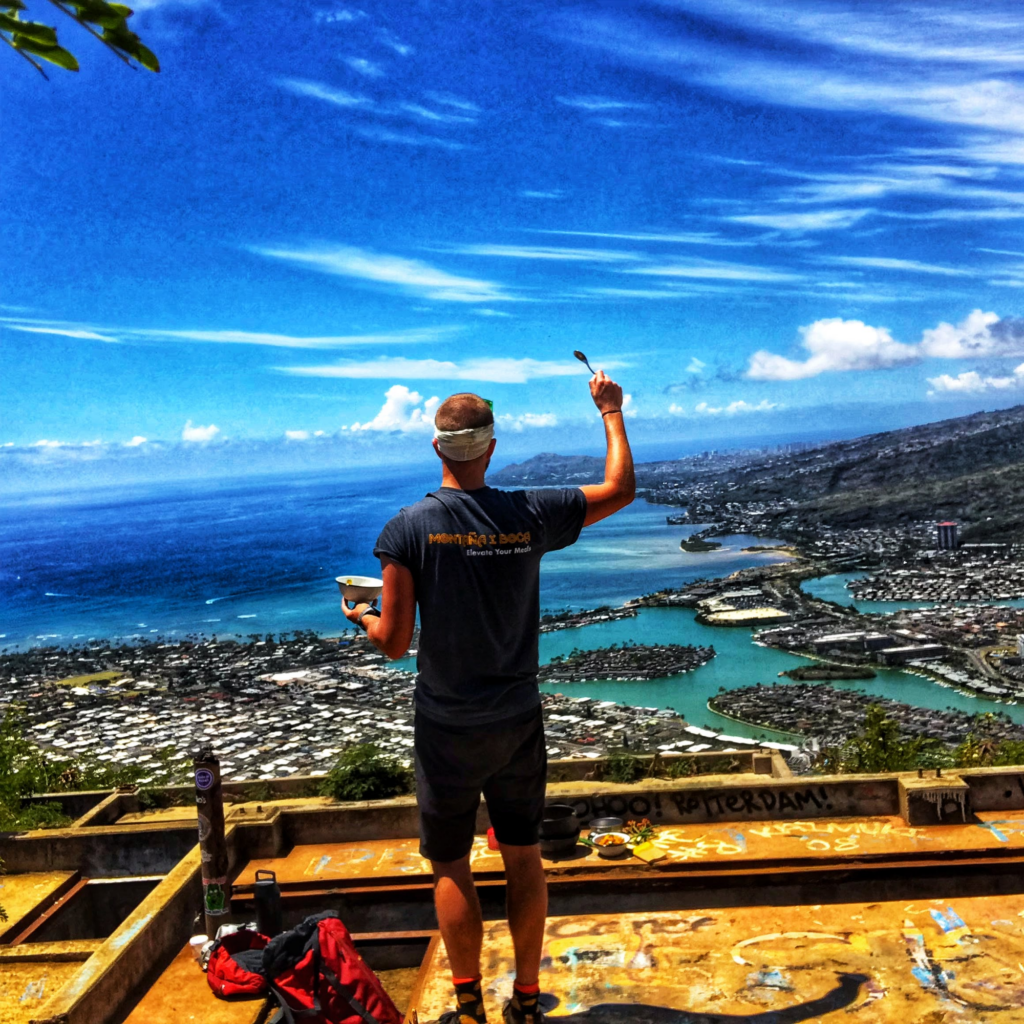
If you happen to be somewhere pretty, take a shot of the bowl and the view! Little tougher of a shot as you need to focus on the food and background and it can get blurry. If it doesn’t turn out, no biggie.
PHOTO 3
** SUPER IMPORTANT!! TAKE ON SQUARE SETTING. SUPER IMPORTANT!!! **
Tap the screen to focus.
Take a couple photos.
Double check: clarity of photo, no shadow, no toes
STEP 11 – EAT IT & SEND IT!
Share feedback with Chef Corso using the button below.
If you’d like you can tag Outdoor Eats in a social media post.
Just use @outdooreats365
#elevateyourmeals
#whereicook
#testingtrip
Chef Corso will edit the original recipe with your suggestions and upload to the recipe bank on the website.
Check out other great trail-tested recipes from other testers!

